
Styling tips · the checklist
A little care.
A world of difference.
Make your home calm, bright and camera-ready. Our practical checklist guides you through each room, one step at a time.
The essentials
Start with calm, light and space.
You do not need to redecorate your entire home. Focusing on these three things usually makes it look calmer and more inviting straight away.
Clear the clutter
Put away loose items and personal belongings. Keep just a few well-chosen accessories on each surface.
Let the light in
Open curtains and blinds, clear the windows and check that every light works.
Create space
Clear walkways, doorways and sightlines so the layout is easy to understand at a glance.
Room by room
Which room would you like to prepare?
Choose a room and tick off the items you have completed. These tips are based on the Housevertising Styling Tips Checklist.
01 · Living room
Give the room space to breathe.
Clear surfaces and open sightlines make your living room look larger and keep the focus on the space itself.
A tip from our guide: keep bookshelves around 60–80% full and leave about 75% of the windowsill clear.
02 · Bedroom
Keep it fresh and inviting.
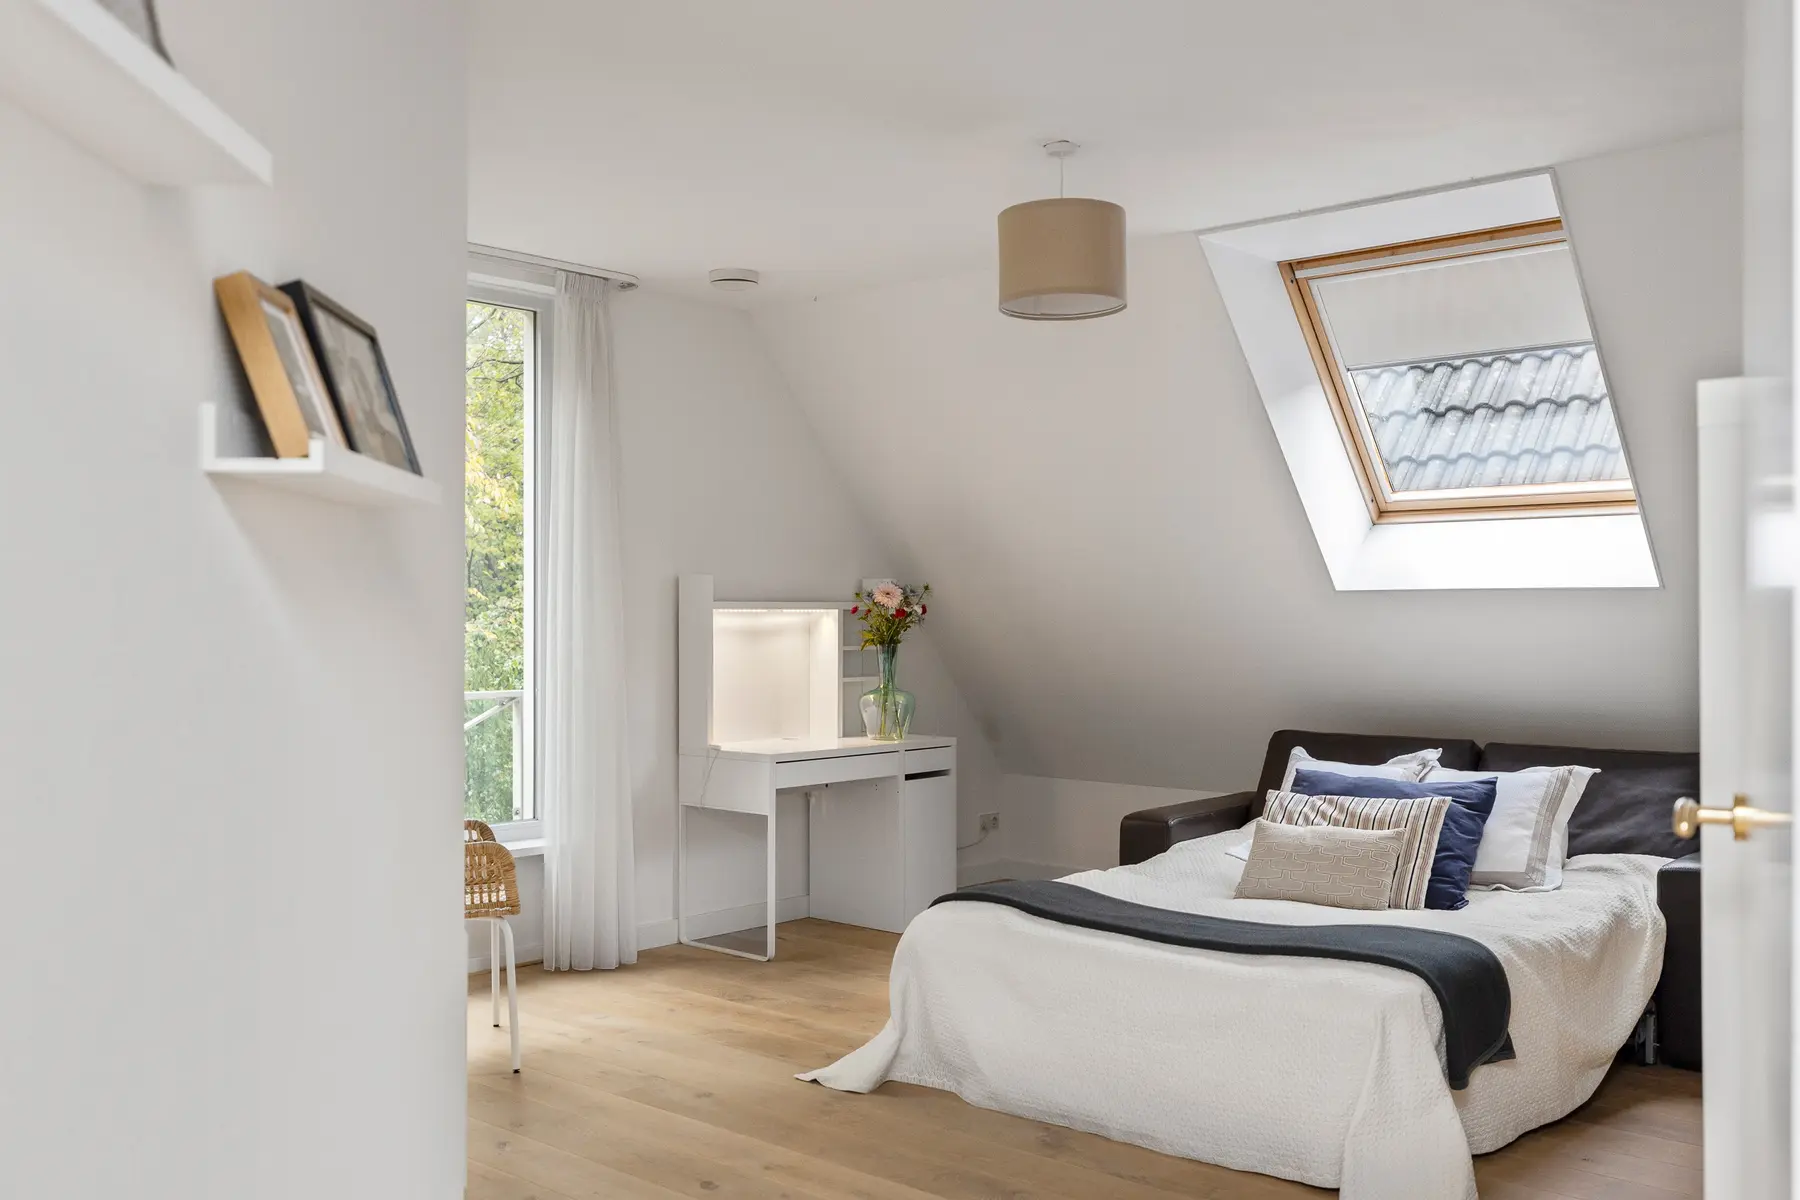
An uncluttered bedroom feels spacious and comfortable. Aim for the fresh, tidy feel of a hotel room.
A tip from our guide: neatly made, neutral bedding and a few matching cushions instantly create a more luxurious feel.
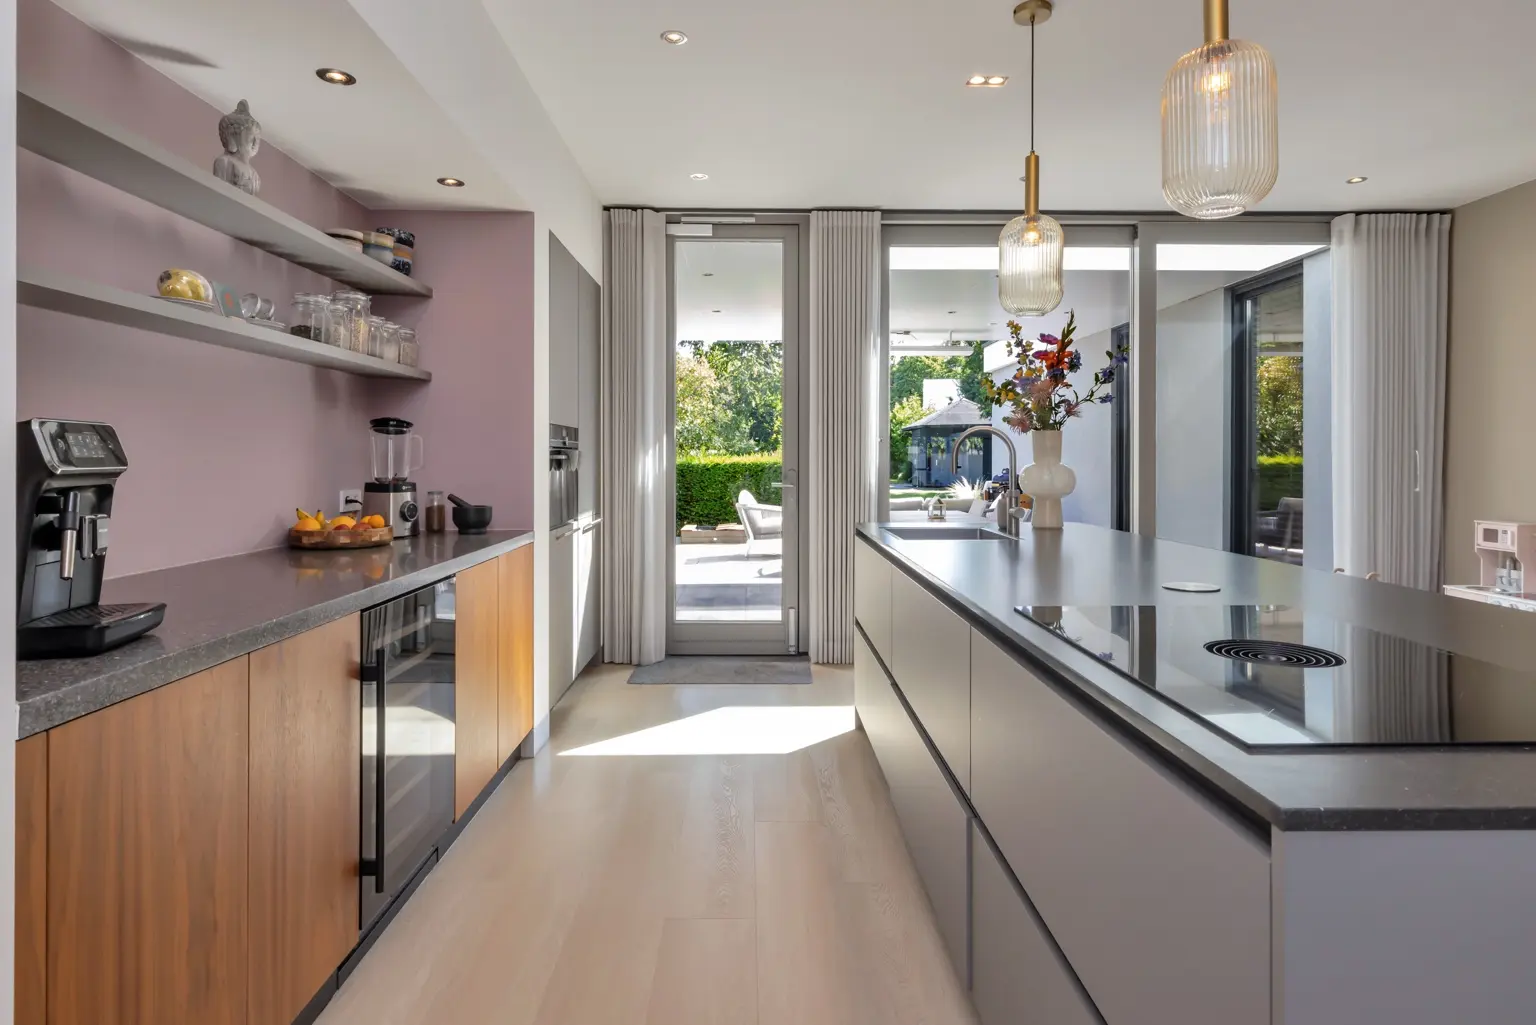
03 · Kitchen
Let the worktops and clean lines stand out.
Clear worktops make the kitchen look tidier and show off its materials, layout and usable space.
A tip from our guide: remove magnets and sticky notes from the fridge and leave around 75% of the windowsill clear.
04 · Bathroom
Clean, fresh and free of personal items.
Toiletries and laundry can easily draw the eye. A clean, clear bathroom looks more spacious and hygienic.
A tip from our guide: remove the shower curtain or use a fresh, neutral one.
05 · Outdoor space
First impressions start outside.
A tidy entrance and a well-kept garden create a welcoming first impression and make the plot and outdoor space easier to appreciate.
A tip from our guide: temporarily move the for-sale sign out of view and add cushions to garden chairs in good weather.
06 · Just before you leave
The final five minutes.
Take one last walk through your home. These final checks help prevent small details from distracting from the property.
Cannot finish everything? Prioritise clear surfaces, good light and open walkways.
Before and after
Slide to see the difference.
Move the sliders to see the difference that clear surfaces, less clutter and open sightlines make. The before images are digital simulations based on the original photos.
Living room
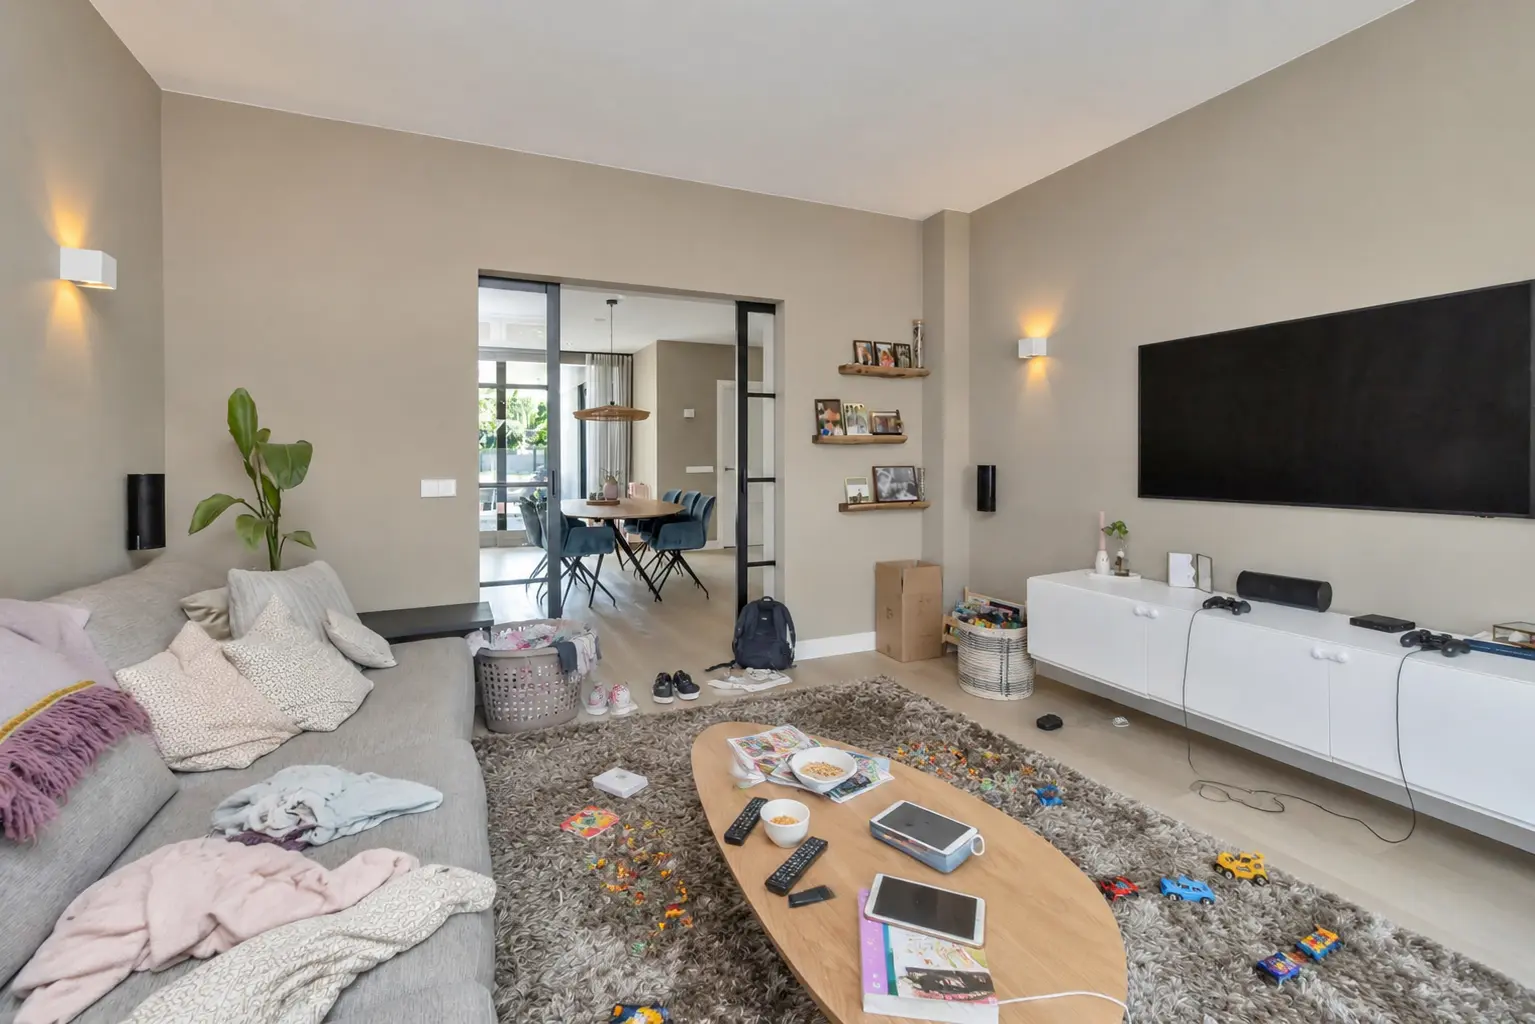 BEFORE
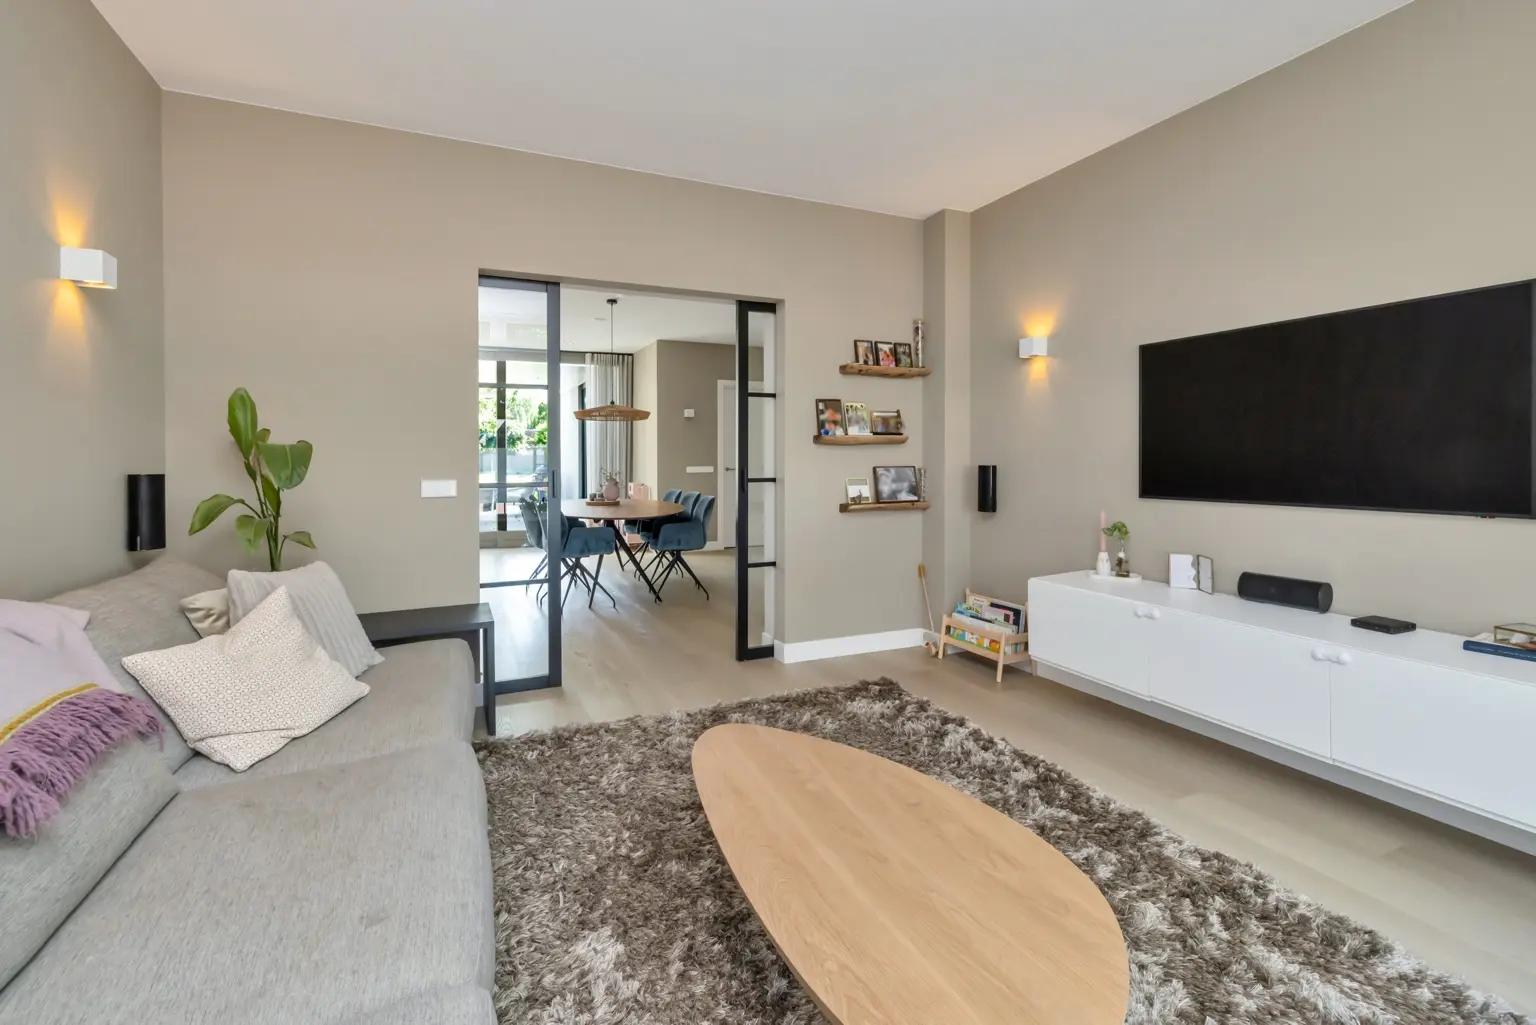 AFTER
Drag the divider left or right.
Kitchen
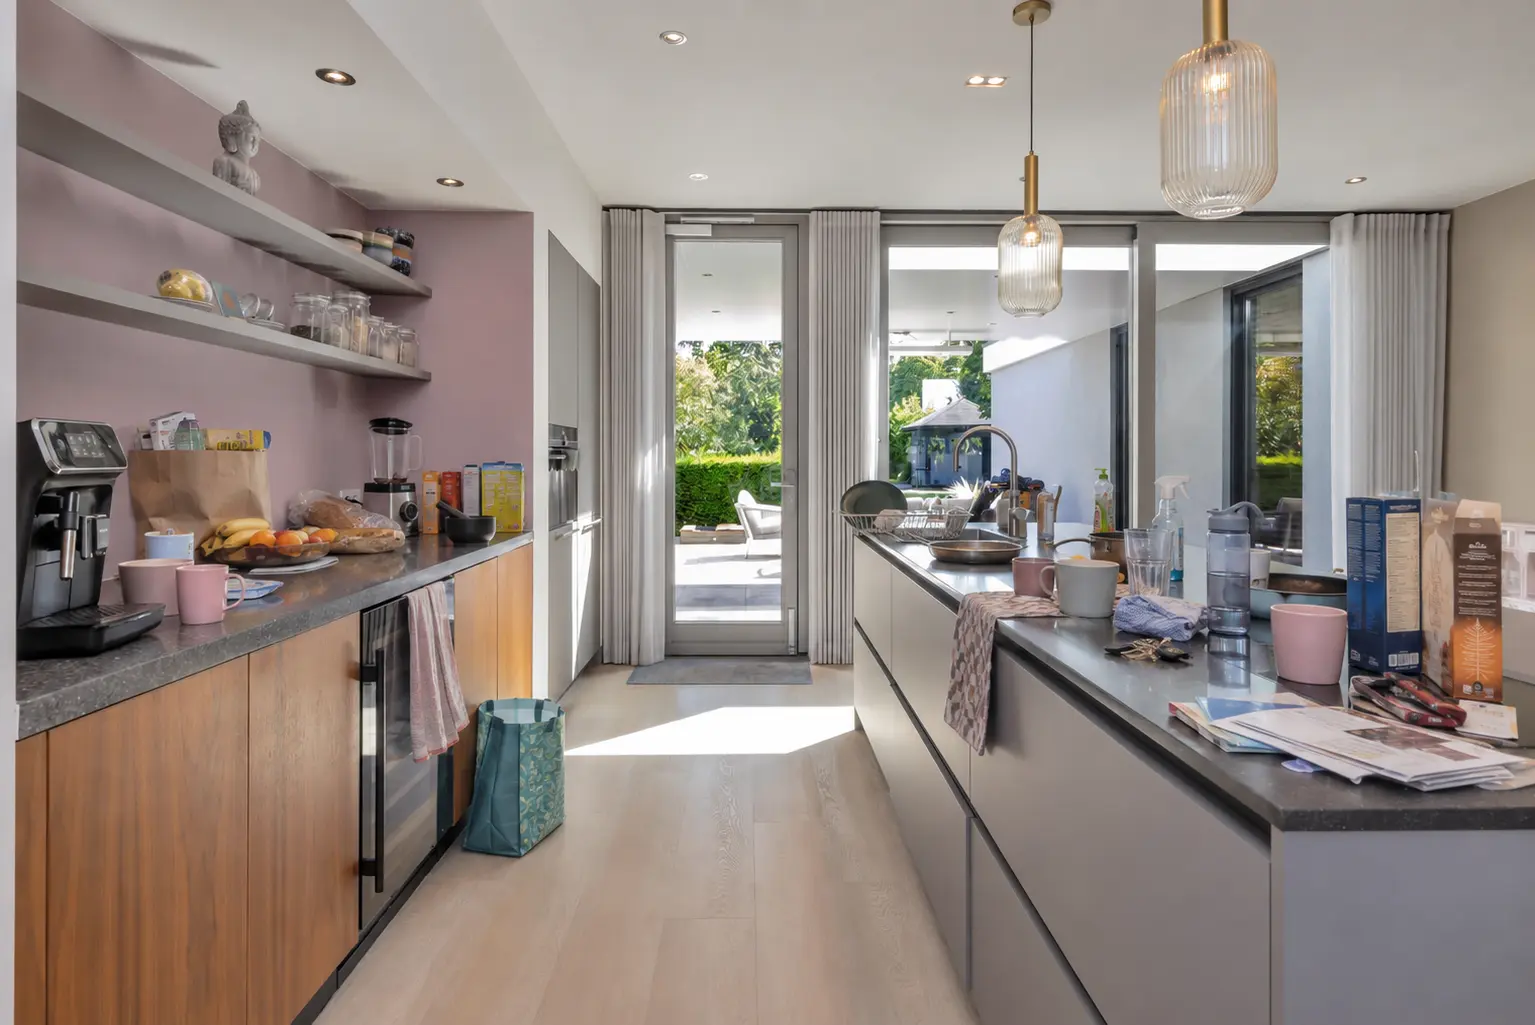 BEFORE
 AFTER
Drag the divider left or right.
Ready for the photo shoot?
We will show your home at its best.
Have questions about preparing your home or would you like to arrange property photography? We are happy to help.